
If you are planning a new floor, you have probably seen screed flooring and epoxy flooring offered side by side, as if you had to pick one. Google's own suggestions in South Africa put them head to head: "screed vs epoxy", "epoxy flooring vs screed", "screed flooring colours south africa", "screed flooring price per m2".
The honest answer is that they are usually not rivals at all. Where a floor has both, screed is the layer underneath and epoxy is the layer on top. The comparison only becomes a real choice when someone is offering you screed as the finished floor. This guide explains what each one is, where that choice is real, and what has to be true of a screed before an epoxy floor can go over it.
Key takeaways
- Screed is a cement-and-sand layer, usually laid at least 25 mm thick, whose main job is to give a flat, level base for the final floor.
- Epoxy is a resin finish, measured in fractions of a millimetre for a coating and a few millimetres for a self-smoothing floor.
- They often work together: the screed levels the floor and the epoxy seals and finishes it. A sound, level slab may need no screed at all.
- New screed needs time. The usual estimate is about one day of drying per millimetre of thickness, up to 50 mm, before it is ready for a coating.
- An "epoxy screed" is a thick resin floor, not a cement screed with epoxy in it.
What screed actually is
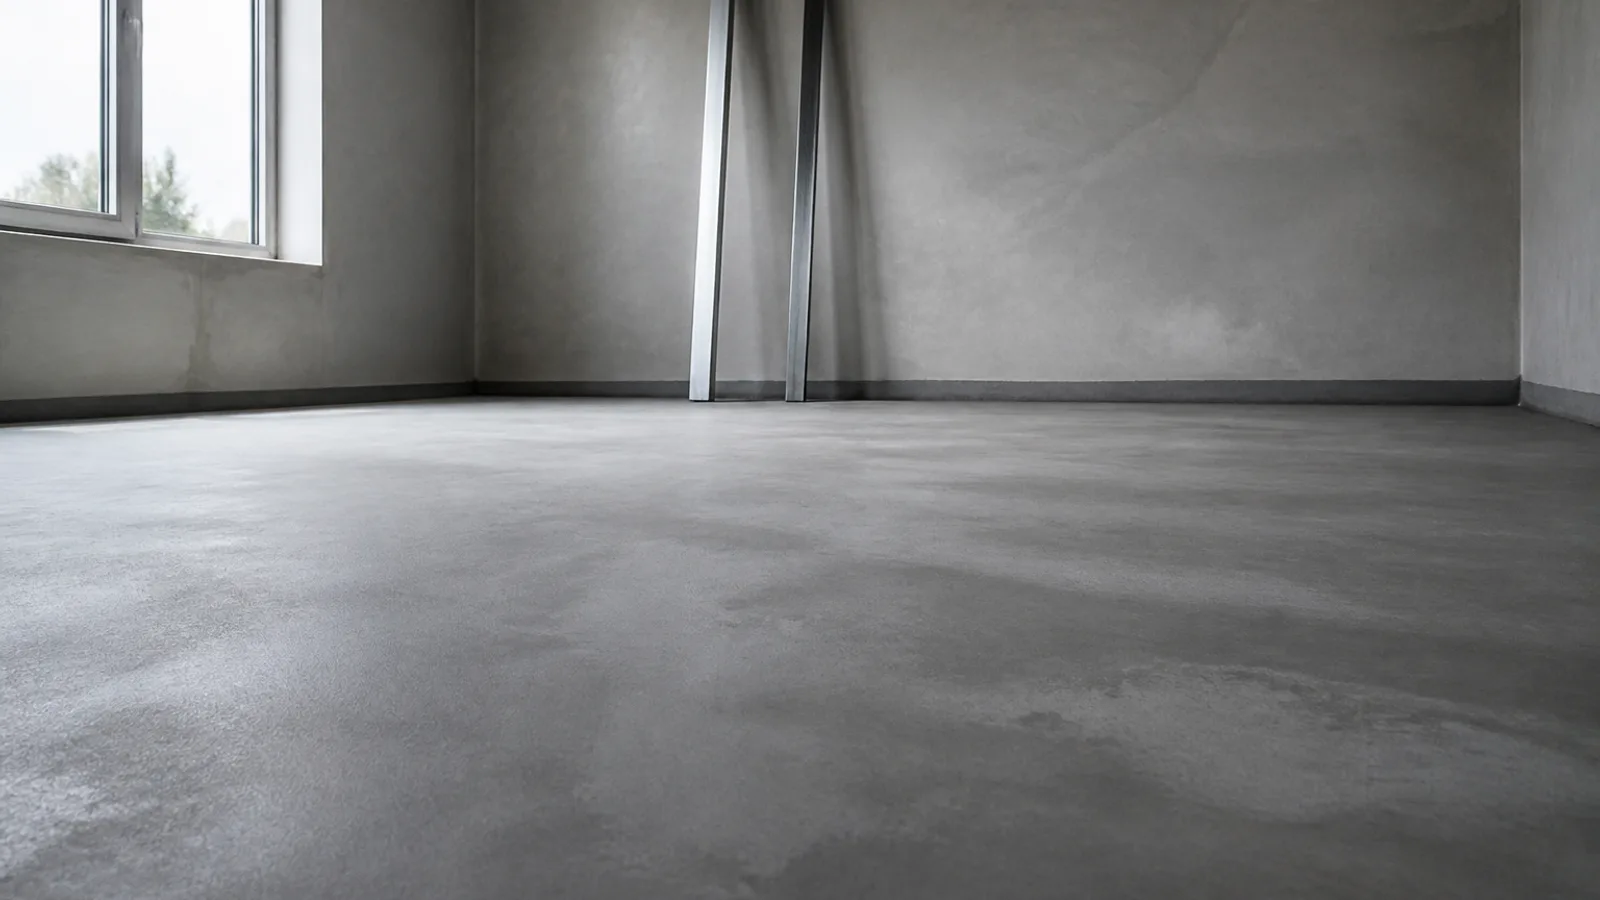
The Concrete Centre describes a floor screed as usually a cementitious material made from a 1:3 or 1:4.5 ratio of cement to sharp sand, laid onto a concrete slab. It is not the structural floor. The British standards define a levelling screed as one finished to a defined level to receive the final flooring, and they say plainly that it does not contribute to the structural performance of the floor.
There are three common ways to lay it. A bonded screed is stuck to a mechanically prepared slab. An unbonded screed is deliberately separated from the slab by a membrane. A floating screed sits on a layer of insulation, and is the type used when underfloor heating pipes are cast into the floor.
Thickness matters, and in opposite directions. BS 8204 Part 1 recommends a minimum of 25 mm for a bonded levelling screed, and in practice it is usually specified at about 40 mm so that it never dips below that minimum. The Concrete Centre explains why, and it is useful if your floor sounds hollow or has cracked. Bonded screeds mainly fail when the bond to the slab gives way, which is more likely if they are too thick. Unbonded screeds mainly fail by lifting or curling at the edges, which is more likely if they are too thin. That is why unbonded screeds are normally 70 mm or more.
There are also proprietary flowing screeds, many of them based on calcium sulphate. They can be laid much faster over big areas, but the Concrete Centre notes they are generally not suitable for damp conditions or where wetting can occur.
What an epoxy floor actually is
Epoxy belongs to the family of synthetic resin floors. FeRFA, the UK resin flooring association, explains that these floors cure by a chemical reaction between the resin components once they are applied, and that the word "resin" in flooring comes from epoxy, which the first resin floors were based on. It hardens by reacting rather than by drying out, which is a big practical difference from a cement screed.
FeRFA classifies resin floors by thickness, and the range is wide:
- Floor coatings: 150 to 300 microns, and high-build coatings 300 microns to 1 mm.
- Flow-applied or "self-levelling" floors: typically 2 to 3 mm, with a smooth surface.
- Resin screeds: trowel-finished, heavily filled systems over 4 mm thick, and heavy-duty resin floors over 6 mm.
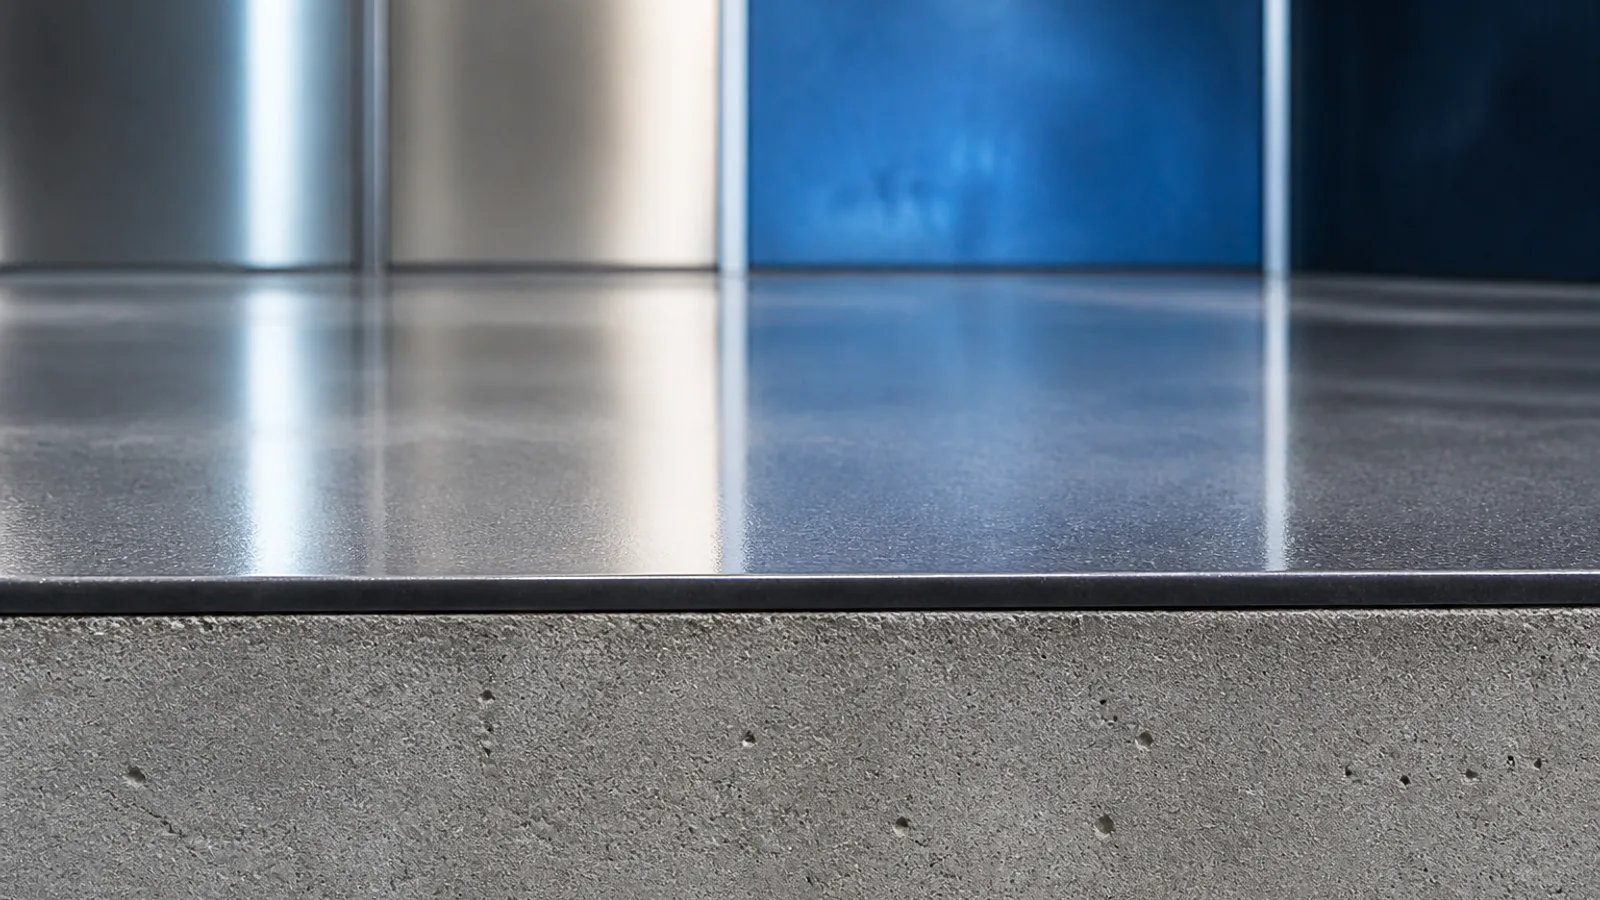
Even the thickest of these is typically a fraction of the thickness of a cement screed. That difference in scale is the whole story: screed builds the floor up and makes it level, epoxy gives it a hard, sealed and finished surface.
Screed vs epoxy at a glance
| Cement screed | Epoxy floor | |
|---|---|---|
| Made of | Cement and sharp sand, about 1:3 to 1:4.5 | Two-part resin that cures by chemical reaction |
| Typical thickness | 25 mm minimum bonded, usually about 40 mm; unbonded 70 mm or more | 0.15–1 mm as a coating; 2–3 mm self-levelling; over 4 mm as a resin screed |
| Main job | A flat, level base for the final floor | The finished, sealed surface you walk on |
| Time before it is ready | About one day per millimetre to dry, up to 50 mm | Walk on it in about a day; full cure in about a week at 20 °C |
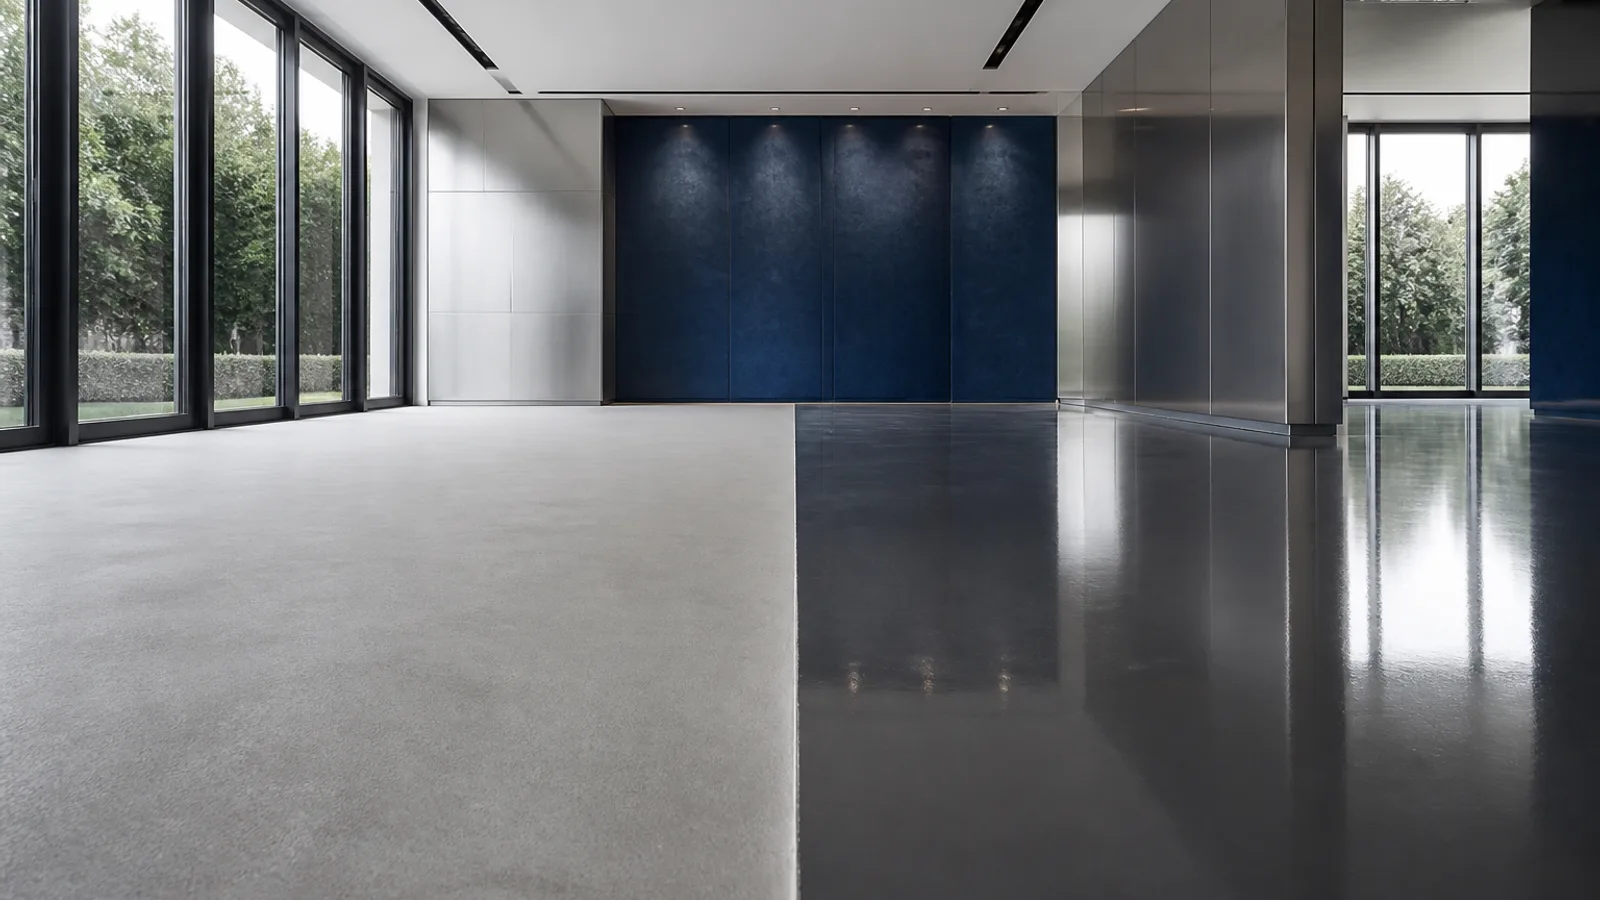
| Look | Matte cement grey | Seamless, in a wide choice of colours |
When "screed flooring" means the finished floor
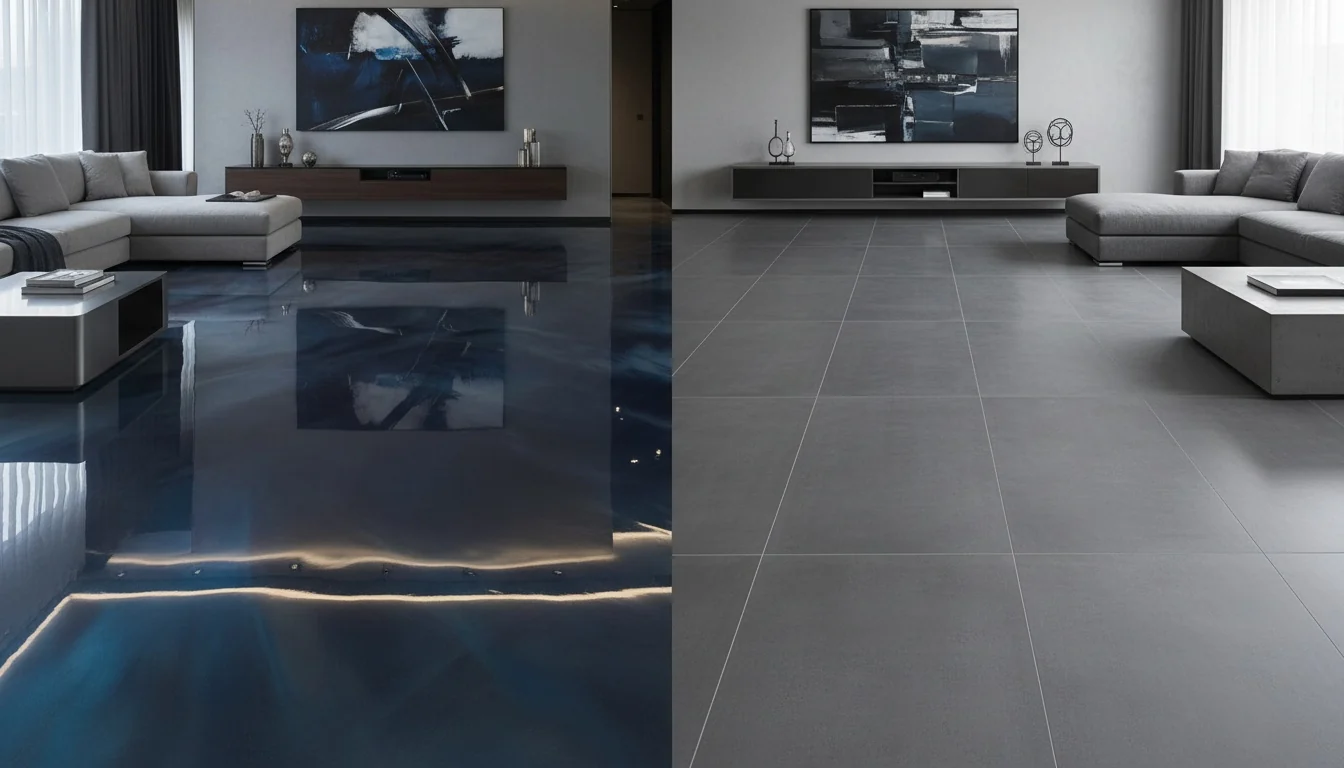
Here is where the comparison becomes a genuine choice. The same standards that define a levelling screed also define a wearing screed: a screed that serves as the flooring itself. BS 8204 Part 2 recommends at least 20 mm for a bonded wearing screed. When people search for "screed flooring colours", this is likely what they are picturing: a cement floor you live on, rather than one hidden under tiles or vinyl.
If that is the look you want, it is a legitimate option, and a good contractor will specify it as a wearing screed from day one rather than leaving a levelling screed exposed. Before you commit, ask three questions:
- Is it being specified as a wearing screed, and at what thickness?
- What goes on top to seal it, and how often does that need redoing?
- What happens to it in a kitchen, a garage or anywhere oil, wine or water will land?
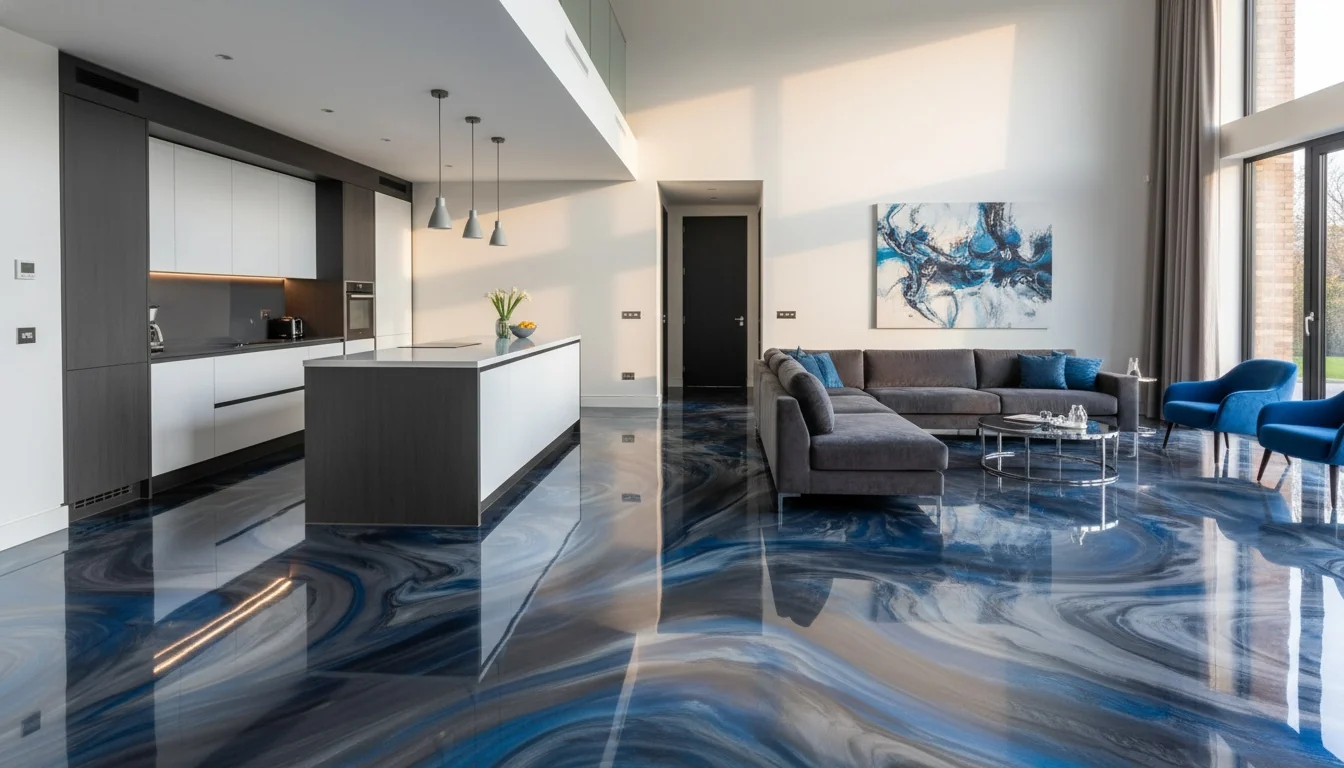
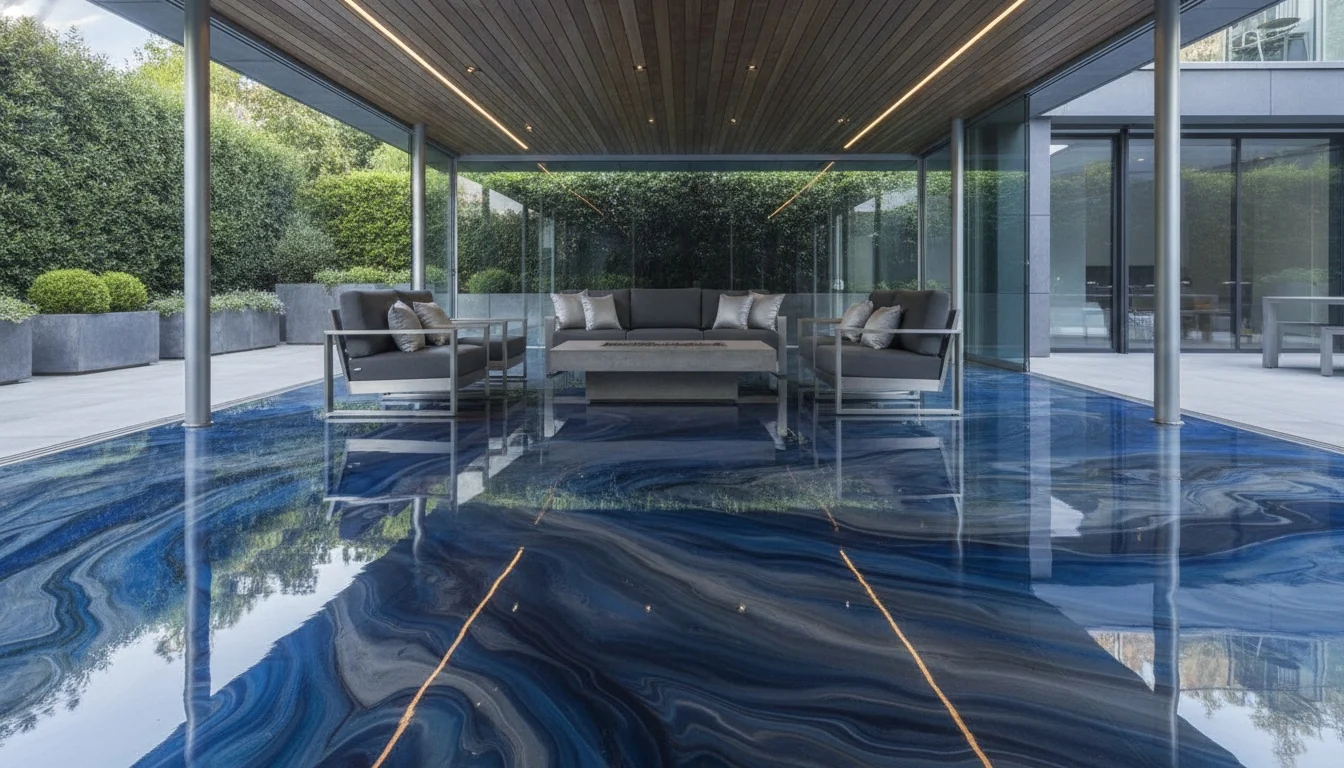
Epoxy suits the rooms where that last question worries you. It gives a seamless, sealed surface in almost any colour, and it is the floor we lay in garages, kitchens and living areas. The trade-off is that it is a resin, not a mineral, so it looks and feels different from cement. If you are weighing that up for a home, our page on epoxy floors for houses shows the finishes side by side.
Putting epoxy over a screed: the three checks
Epoxy floor systems are made to go onto concrete and screed. Sika's South African data sheet for its self-smoothing epoxy lists its use as a coating for concrete and screed surfaces. But a screed has to earn its coating. Before we quote an epoxy finish over one, it has to pass three checks.
1. It must be strong and well bonded. A weak, sandy or hollow screed will take the epoxy with it when it fails. Sika asks for a substrate with a compressive strength of at least 25 N/mm² and a pull-off strength of at least 1.5 N/mm², and FeRFA gives the same pull-off minimum for epoxy. We check for hollow-sounding areas and a dusty or crumbling surface, and anything that is not sound comes out before we coat. Cracks need proper treatment too: Sika warns that getting them wrong can lead to a shorter service life and cracks reflecting through the new floor.
2. It must be dry. This is the check that catches people out on new builds. FeRFA sets a limit of 75% relative humidity in the substrate for epoxy, and Sika's data sheet sets a limit of 4% moisture content. Sika's data sheet also rules out applying it over rising moisture. Where a floor cannot wait, there are epoxy-cement products made to act as a temporary moisture barrier; Sika specifies one for exactly the case where the substrate is over its 4% limit. We measure, and we tell you which route your floor needs.
3. It must be flat enough for the finish. A thin coating follows every dip and ridge in the screed beneath it. FeRFA's flatness classes allow a maximum gap of 3 mm, 5 mm or 10 mm under a 2 m straightedge, depending on how demanding the floor is. Sika's data sheet says a concrete or screed substrate has to be primed or levelled to give an even surface, and high spots ground off. A self-levelling epoxy, at 2 to 3 mm, is more forgiving of a slightly uneven base than a thin coating is.
A new screed is not ready the day it goes down
If you are building, extending or relaying a floor, the screed's drying time will set your programme, not the epoxy. The Concrete Centre, quoting British guidance, puts the drying time for a sand and cement screed at about one day for each millimetre of thickness up to 50 mm. On a typical 40 mm screed, that is in the region of 40 days before it is dry enough to coat.
Two things follow. First, plan the screed early, because it is the slow step. Second, treat any calendar estimate as a starting point, not a pass mark. Drying varies from floor to floor, which is why we test the moisture before coating instead of counting days. The epoxy itself is far quicker: once it is down, you are walking on it in about a day, and we set out the full timeline in how long an epoxy floor takes to dry.
What people mean by an "epoxy screed"
The word "screed" also turns up in resin flooring, and it causes real confusion. An epoxy screed is not a cement screed with epoxy mixed in. In FeRFA's classification, a resin screed is a trowel-finished, heavily filled resin system laid more than 4 mm thick, generally with a seal coat on top to reduce porosity. The heavy-duty version goes over 6 mm and is effectively impervious throughout its thickness.
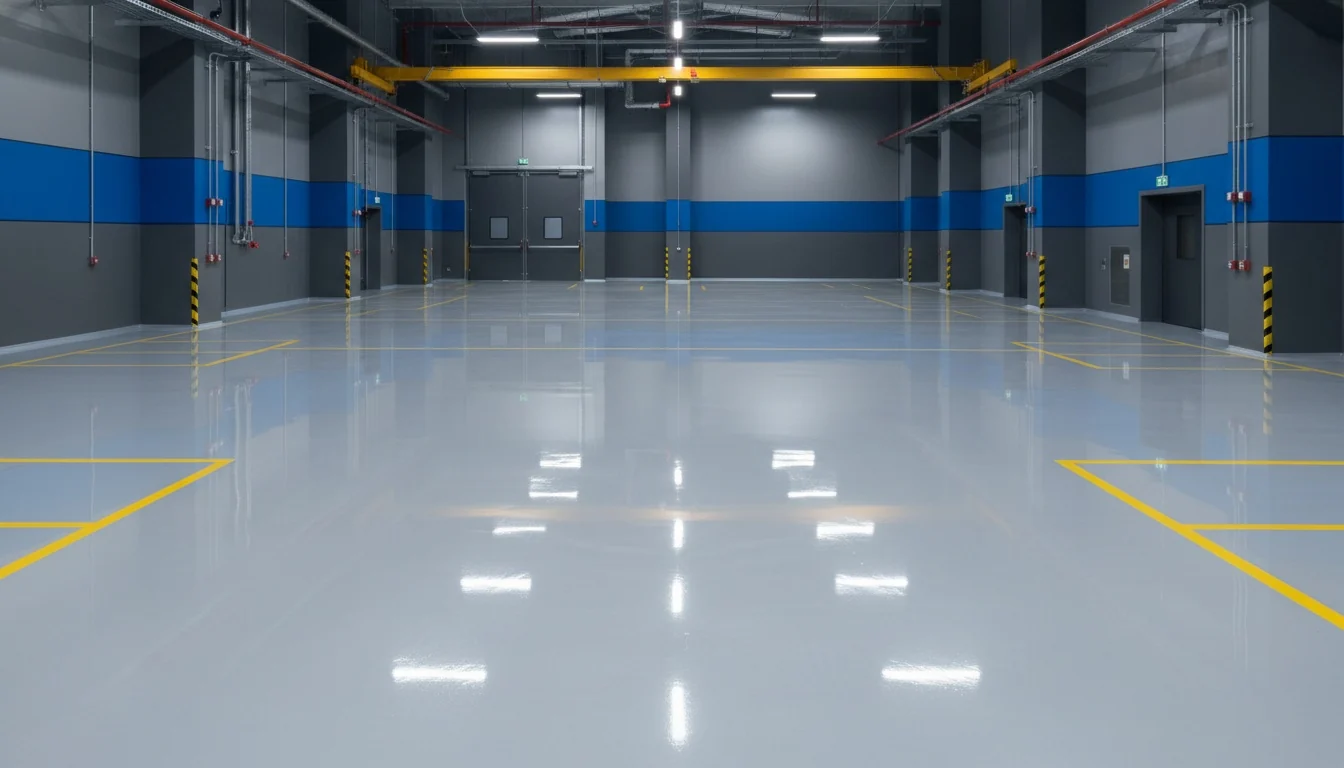
FeRFA rates these systems for medium to very heavy duty. They are laid by hand with a trowel and carry several times the material of a coating. If you run a workshop, factory or warehouse, it is worth reading how we specify industrial and commercial floors, where this is a common choice.
So which do you need?
- Your slab is uneven, or you are building new → you probably need a screed first. Epoxy can go on top once it is dry and sound.
- You have a sound, level concrete floor or an existing screed → you may not need a new screed at all. An epoxy coating or self-levelling epoxy can go straight onto it after grinding and priming.
- You want a cement look as the final floor → ask for a wearing screed and ask how it will be sealed.
- You want a sealed, easy-clean, coloured floor → epoxy, over whatever base is there once it passes the three checks.
- Your floor is tiled → the question is different. Read our guide on whether you can coat over tiles or need to lift them first.
On price, the answer depends on which of those routes your floor needs, so we do not put a single figure on "screed vs epoxy". What we can show you is what an epoxy finish costs per square metre on our epoxy pricing guide, and what moves that number.
The quickest way to settle it is to look at the floor. We come out, check the slab or screed for strength, moisture and level, and tell you whether it is ready for epoxy as it stands, needs work first, or needs a screed before anything else. Book a free on-site assessment and you will have a straight answer for your floor rather than a general one.